
What is the the overhauled pricing module and when will it be introduced operationally?
The new and overhauled pricing module is planned to go operational at the beginning of January 2025.
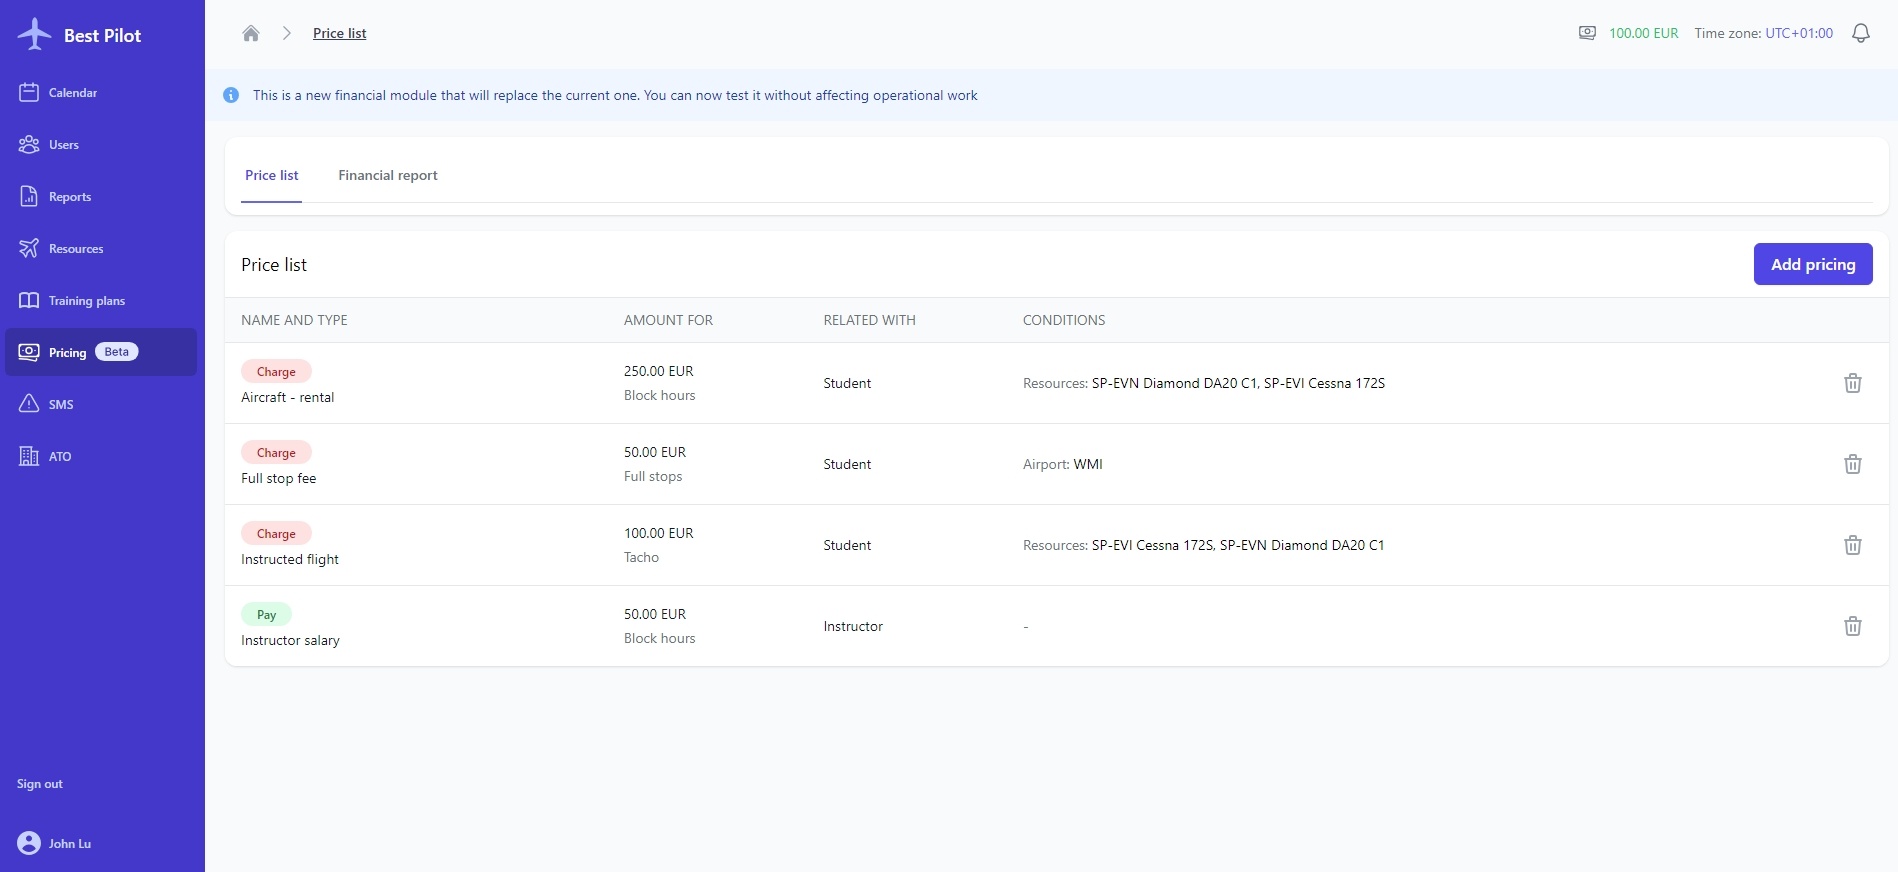
It will be an all-in-one interface for managing prices. No matter your price structure you can now calculate it with Best Pilot.
The prices can be identified as services your ATO offers.
1. To access it, select the Pricing module (1).

Right now, you can test it and set up new prices with various conditions to identify how it will work.
2. The new Pricing module comprises a Price list (2) and a Financial report (3).

3. Through the Price list page you can manage your prices.
4. In the Financial report page you can monitor the calculated payments for the created event based on the new pricing.

Note
The calculated payments do to not influence the current balance of the users.
5. The balance of the user is divided into Payments (4) (new pricing).

and Legacy payments (5) (old/legacy pricing).

January 2025: New pricing becomes operational
With new pricing becoming operational, we will do the following.
1. Clean the Financial report (that was used for testing of new pricing).
2. Migrate the payments/transactions of all users to a combined Financial report.
3. Disable legacy pricing. From this point, the payment calculations will be only based on the new pricing determined in the Price list.
Note
If you currently use Training packages (6), you will have to assign each user the latest status of remaining hours in new Packages (old Training packages will remain visible to facilitate this).

How can I define a new price?
The price for an event is calculated based on the pricelist defined in the Pricing module.
In this article, you will learn how to define a new price.
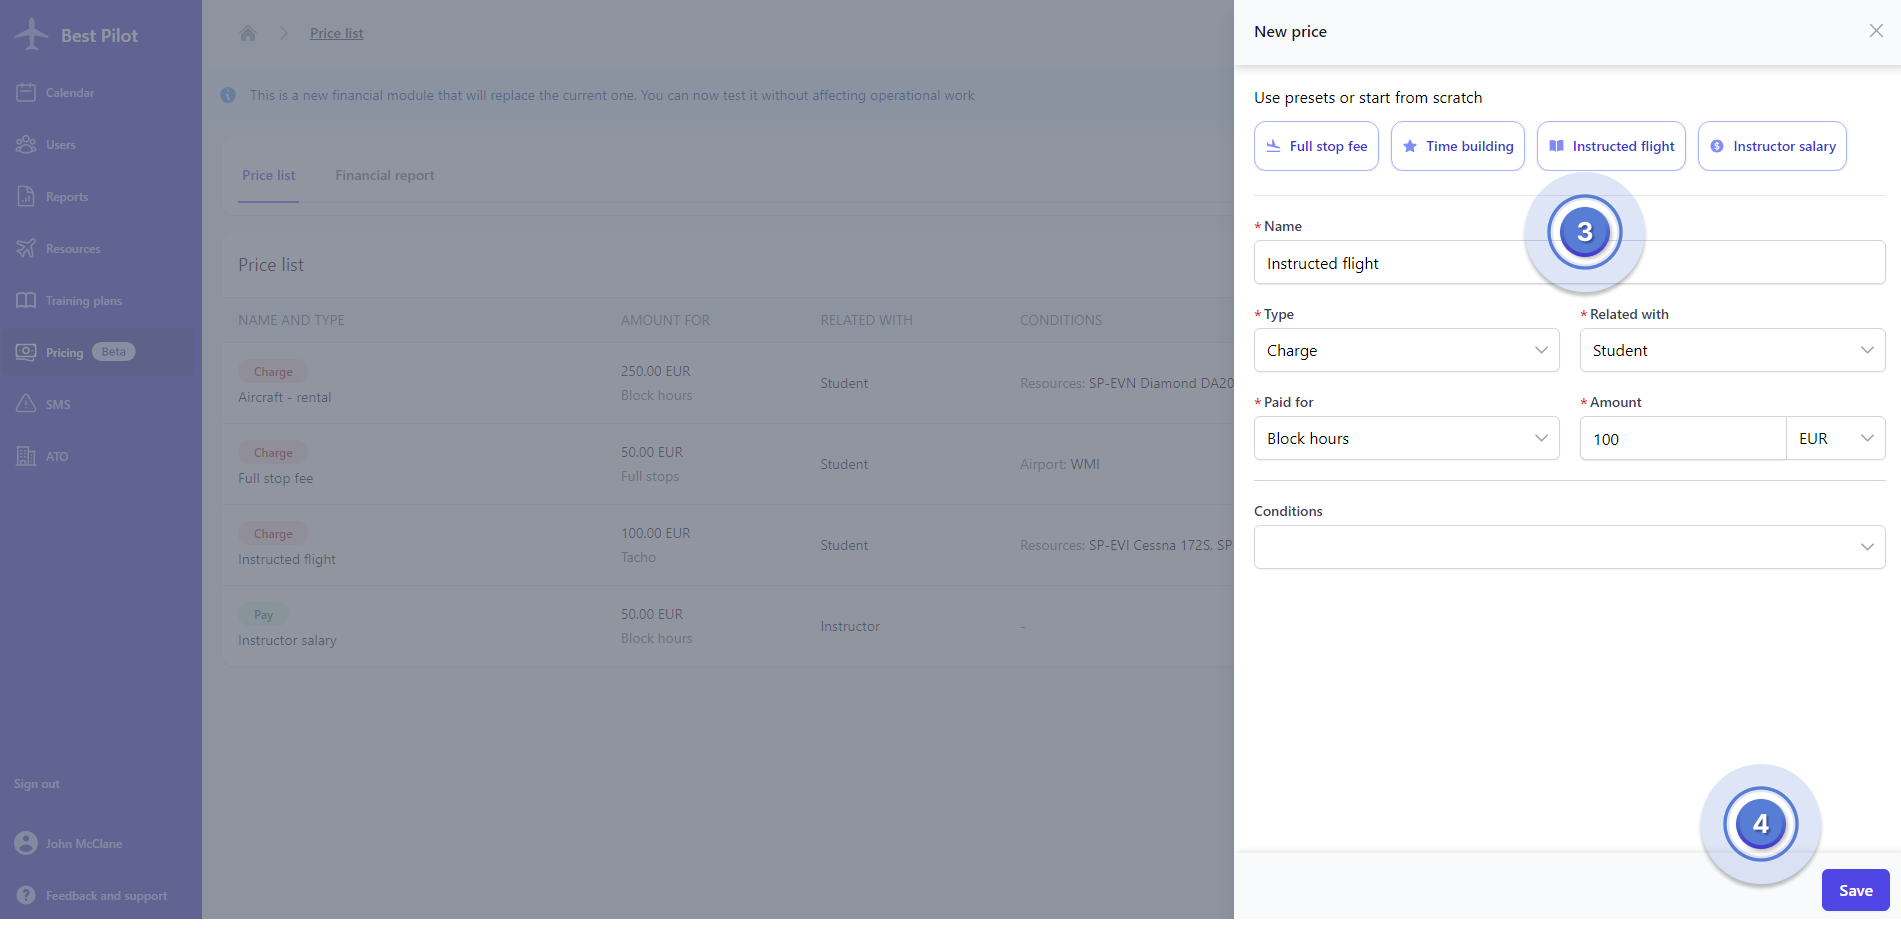
1. Select the Pricing module (1) button.

2. Select the Add pricing button (2).

- Name – unique name for a product or type of product to easily identify the service (eg. Landing fee, Instructed flight)
- Type – you can choose 1 out of 2 options: Pay (for salaries) or Charge (for charges and fees)
- Related with – choose which participant of an event should be charged (eg. Student, PIC, Instructor)
- Paid for – choose the unit that will be the base for calculating fees (e.g. Block time, Tacho, Full stop)
- Amount – determine the unit price
- Conditions – used to define when the given fee should be applied
If you do not set any conditions. Fee will be added to every event registered in the system (no matter its nature).
For more information about Conditions, please visit the article: What conditions can be set?
What conditions can be set?
If all the conditions defined for the price are fulfilled, the fee is charged and applied to the account of the selected participant.
You may select multiple conditions for one price.

- Airport – can be used to specify landing fee specific for a given airport; if specified, the charge will be only applied to the flight that arrives at the specified airport
- Effective date – the date when the price should become operational
- Instructors – possibility of choosing instructor(s) to apply fee or salary (to potentially differentiate salary and set higher/lower rates)
- Training plans – select the training plan(s) fee will be applied
- Resources - possibility of choosing one or more resources, for example: aircraft, simulators.
- Flight type – you may choose, what type of flight will be paid, for example: exam, training, practice
It is possible to set multiple conditions for a single price but all of them must be met by the event for the fee to be calculated and applied.
Remember to set conditions in different prices to be mutually exclusive to avoid multiple fees calculated at the same time.
Exemplary price explained
The charge of 100 EUR (2) will be applied to the user selected as a Student (3) for every Tacho hour flown (4) (counted proportionally)
if
- Event is on or after 01.01.2025 (5)
- Instructor involved in the event are Adam Apple or John Lu (6)
- Resource used in the event is SP-EVI or SP-EVN (7)
- Flight type is Training (8)


NO RESULT FOUND
We could not find what you searched for.
Try searching again
How can I create a FREE Best Pilot account?
You can use Best Pilot for free. To create your account, you should:
1. Visit the Best Pilot website.
2. Select the Create account button (1).

- Email address (2)
- Password (3)
- Name (4)
- Phone number (optional) (5)

4. Once you have filled out the form, click on the Register button (6) to create your account.
An email with an activation code will be sent to the email address you provided for verification.

5. Use the activation code sent in the email to activate your account and select the Confirm button (7).

6. Your account is now active and you can sign in to Best Pilot.

How can I configure my ATO?
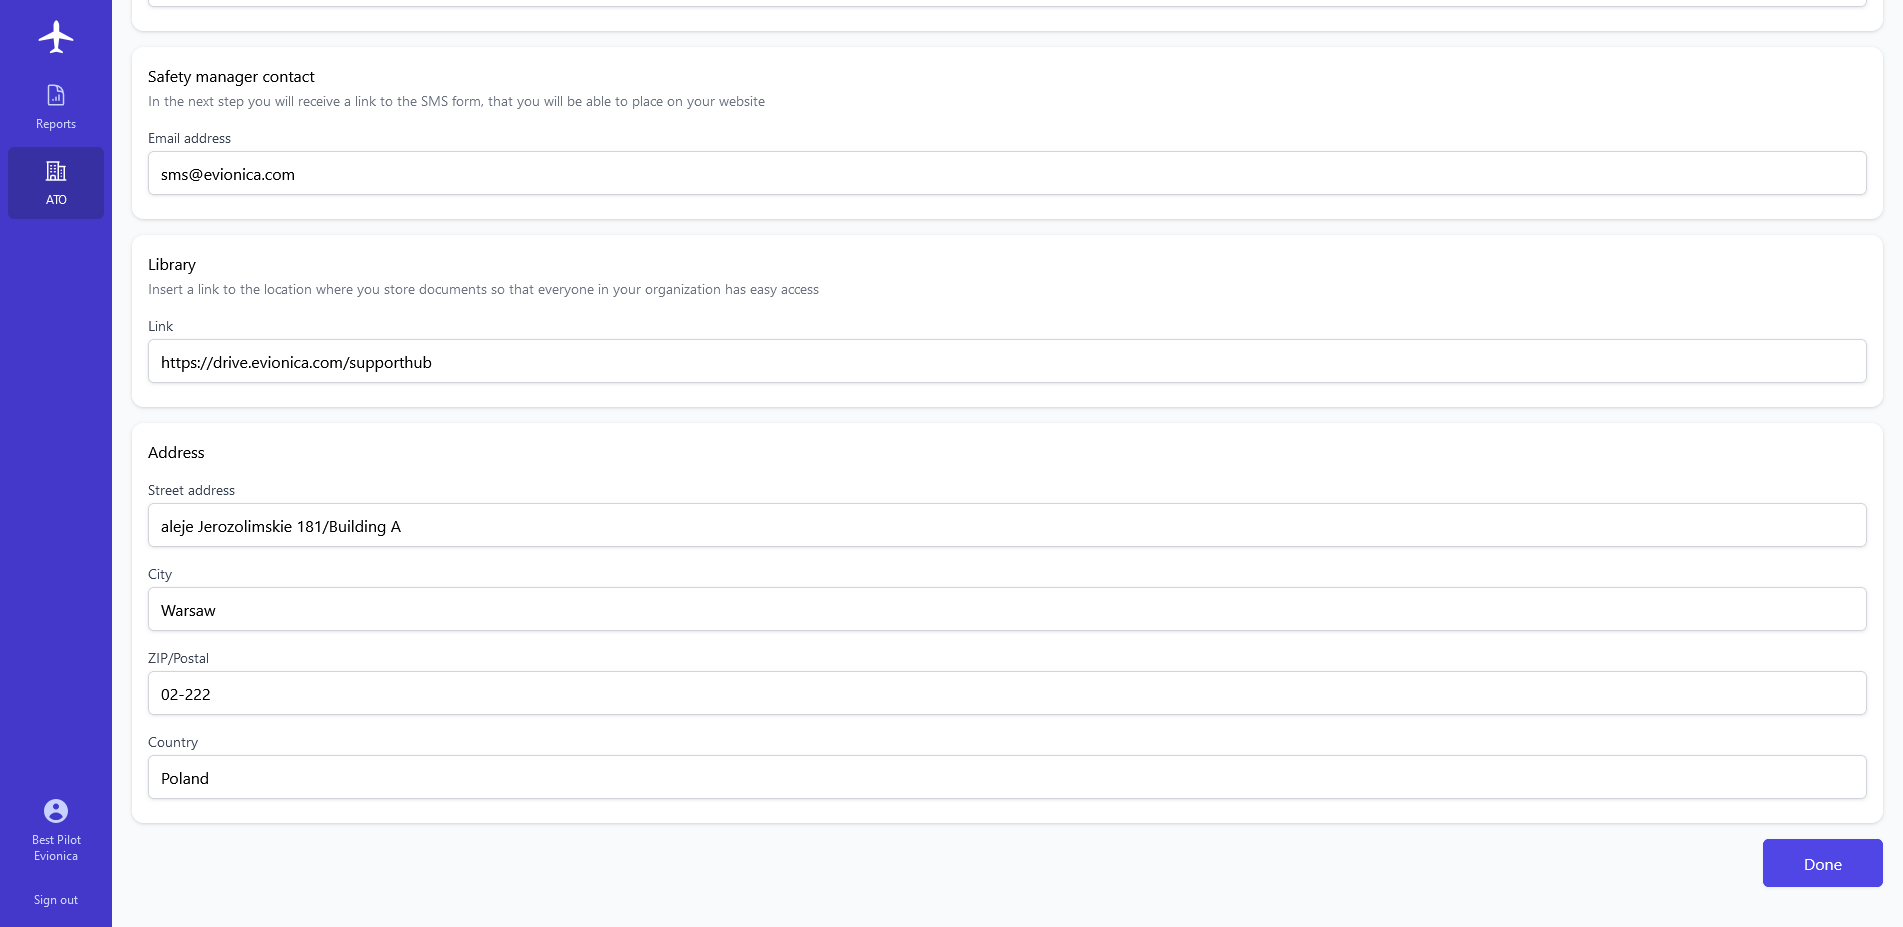
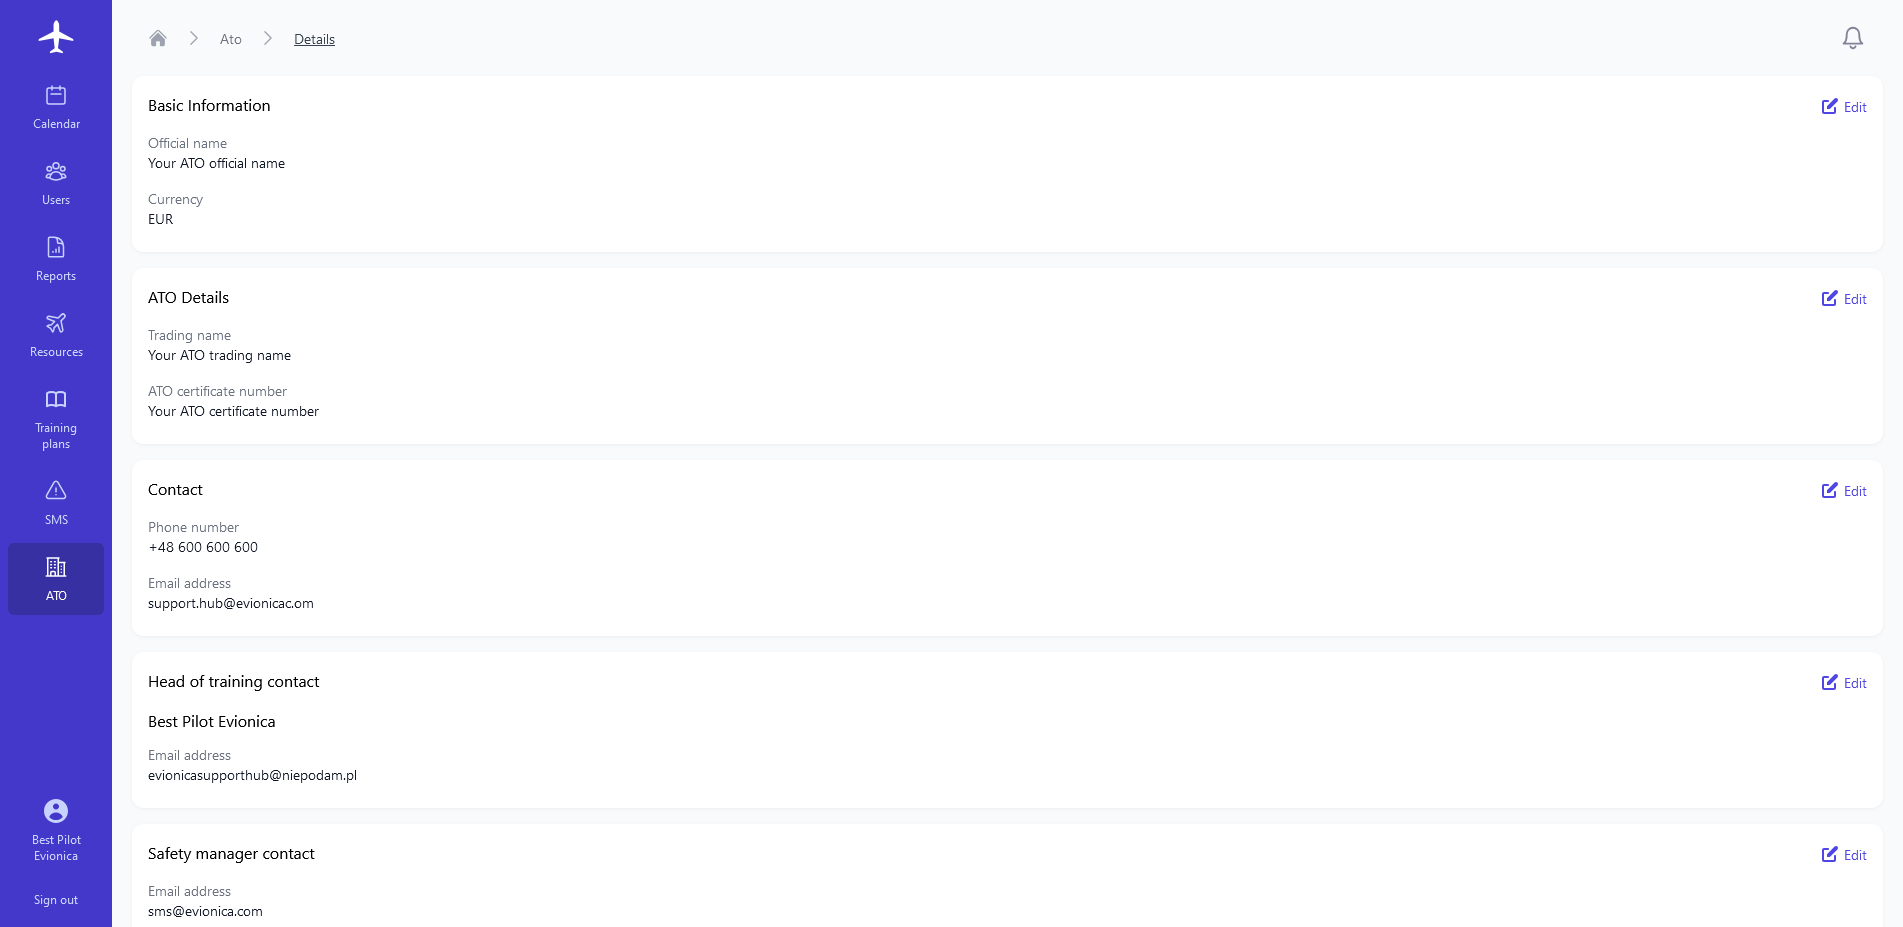
The first thing you should do, as the Administrator or Head of Training of the ATO, is create the ATO in Best Pilot by completing its details.
1. On the Home page, select the Complete ATO details button (1).

2. Next, select the Create ATO as HT button (2).

- Official name (3)
- Currency (4)
- Trading name (5)
- ATO certificate number (6)

- Phone number (7)
- Email address (8)
- Safety manager's email address (9)
All form submissions will be sent to the email address you have provided.

6. Finally, specify the address of your ATO.
- Street address (11)
- City (12)
- ZIP/Postal (13)
- Country (14)
How can I reset my password?
When you can't sign in to your account because you've forgotten your password, Best Pilot lets you reset it by using your email address as an identifier.
Here's how you can do it:
1. On the sign in page, click Forgot your password? (1) under the Password field.

2. On the Reset password page, enter your Best Pilot account email (2) in the relevant field and click the Next button (3).

3. You will then receive an activation code at the email address you provided.

4. Enter the activation code (4) and new password (5), then select the Confirm button (6).

5. The new password is set and you can now sign in to your account with the new credentials.

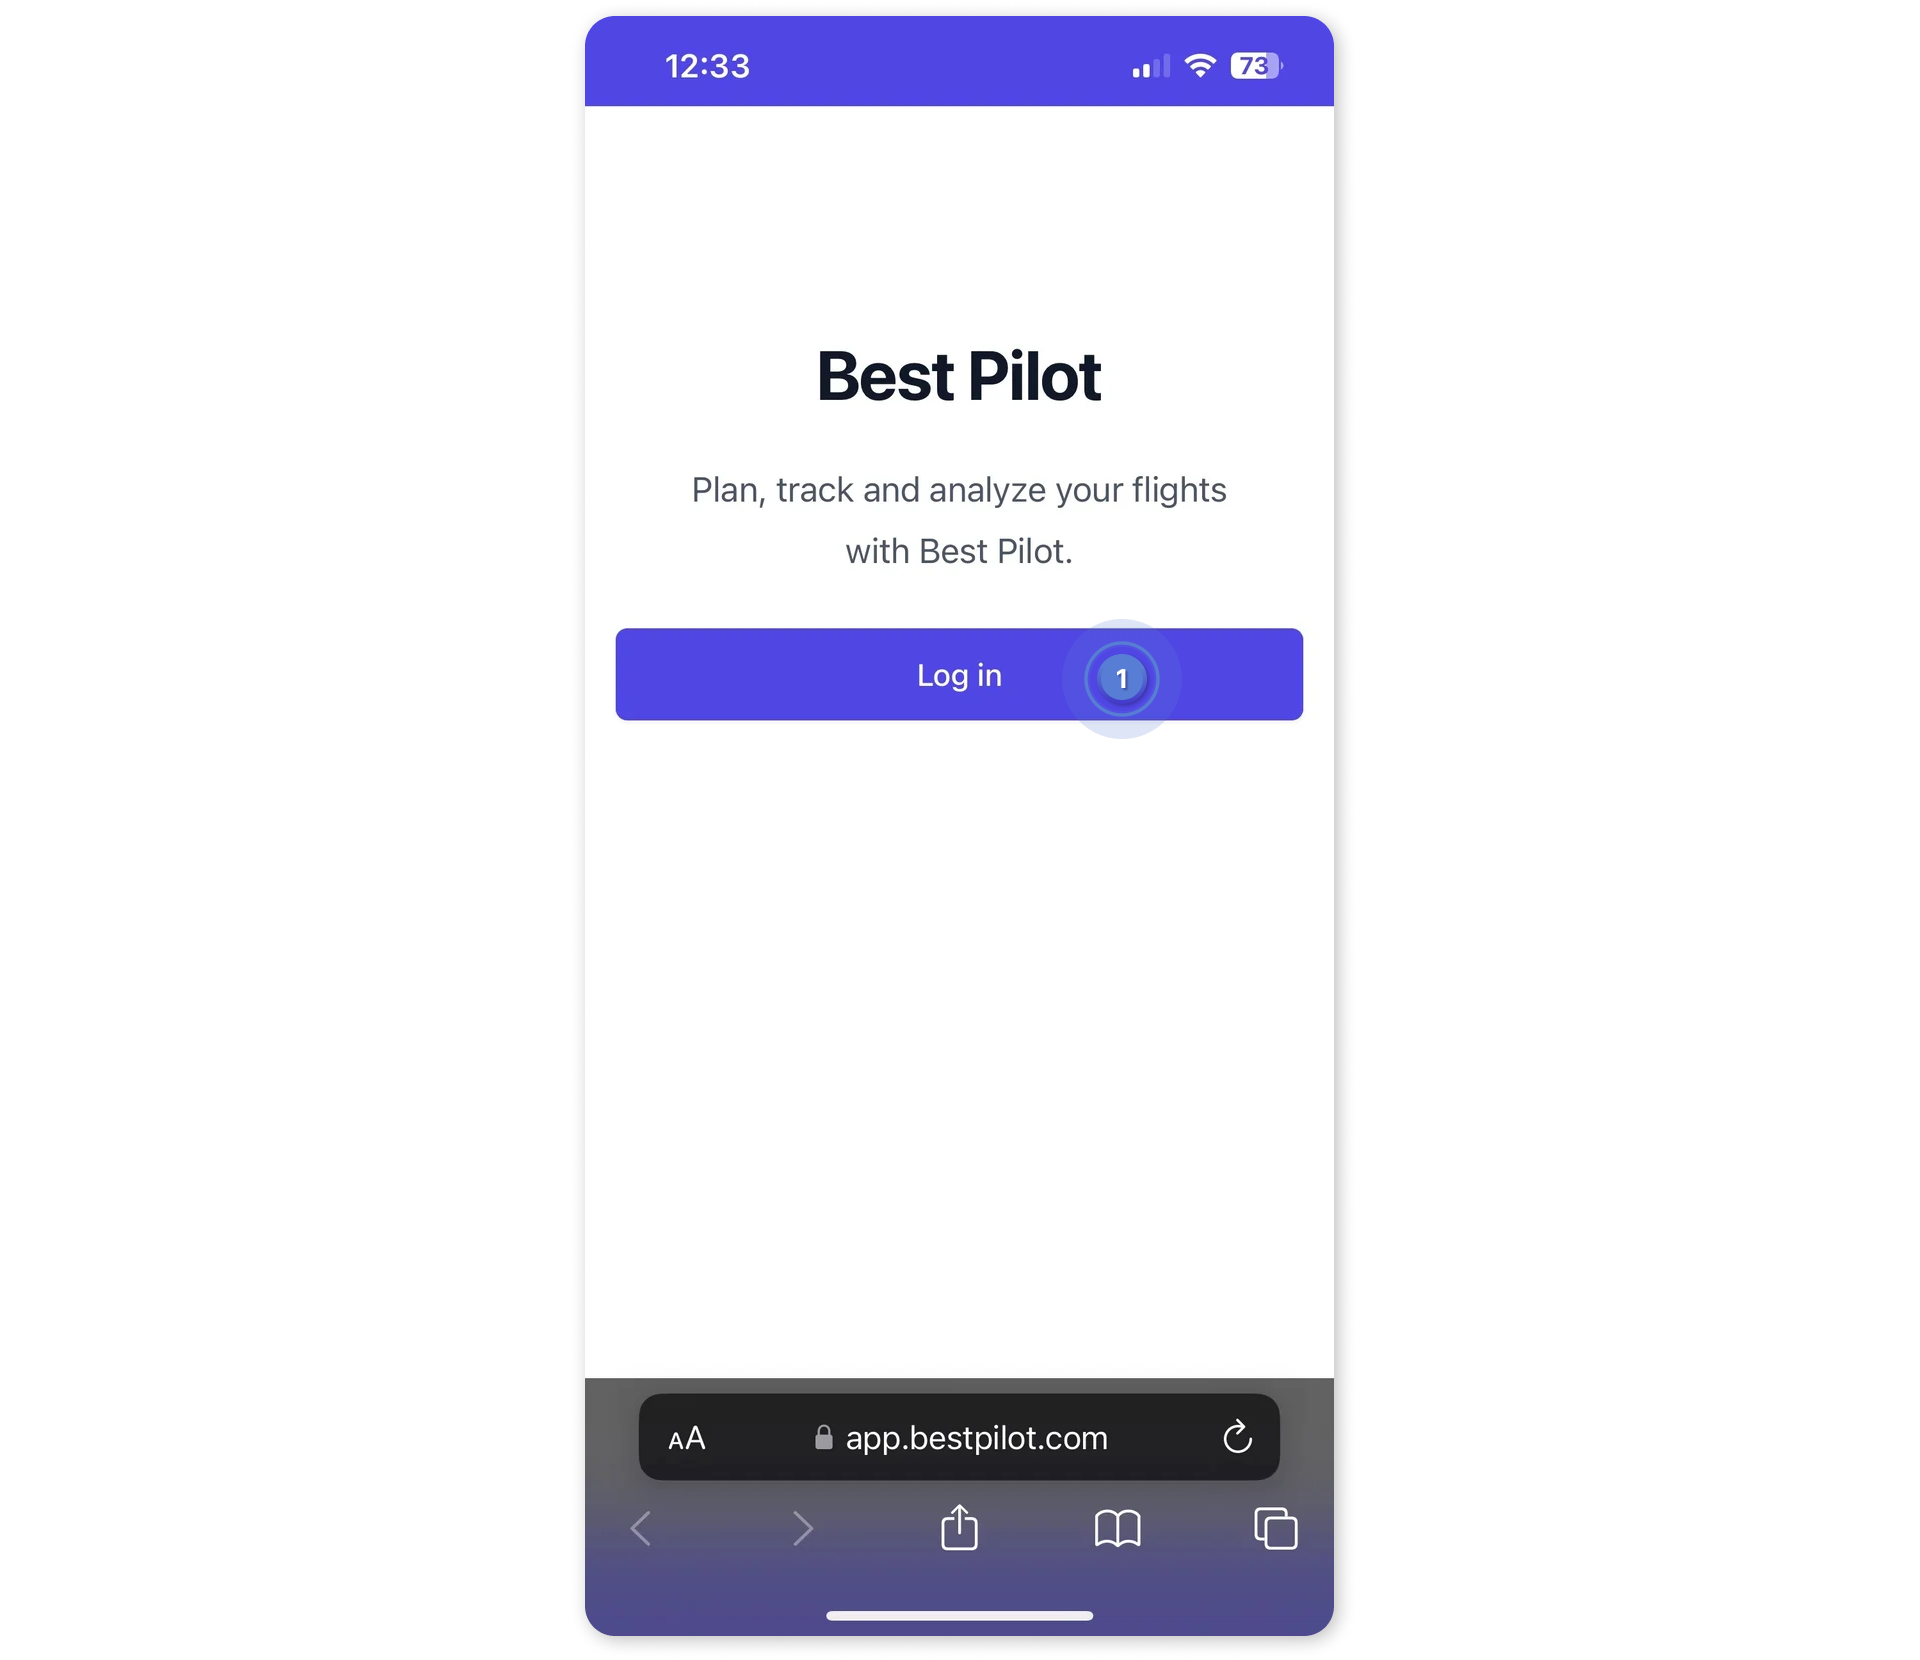
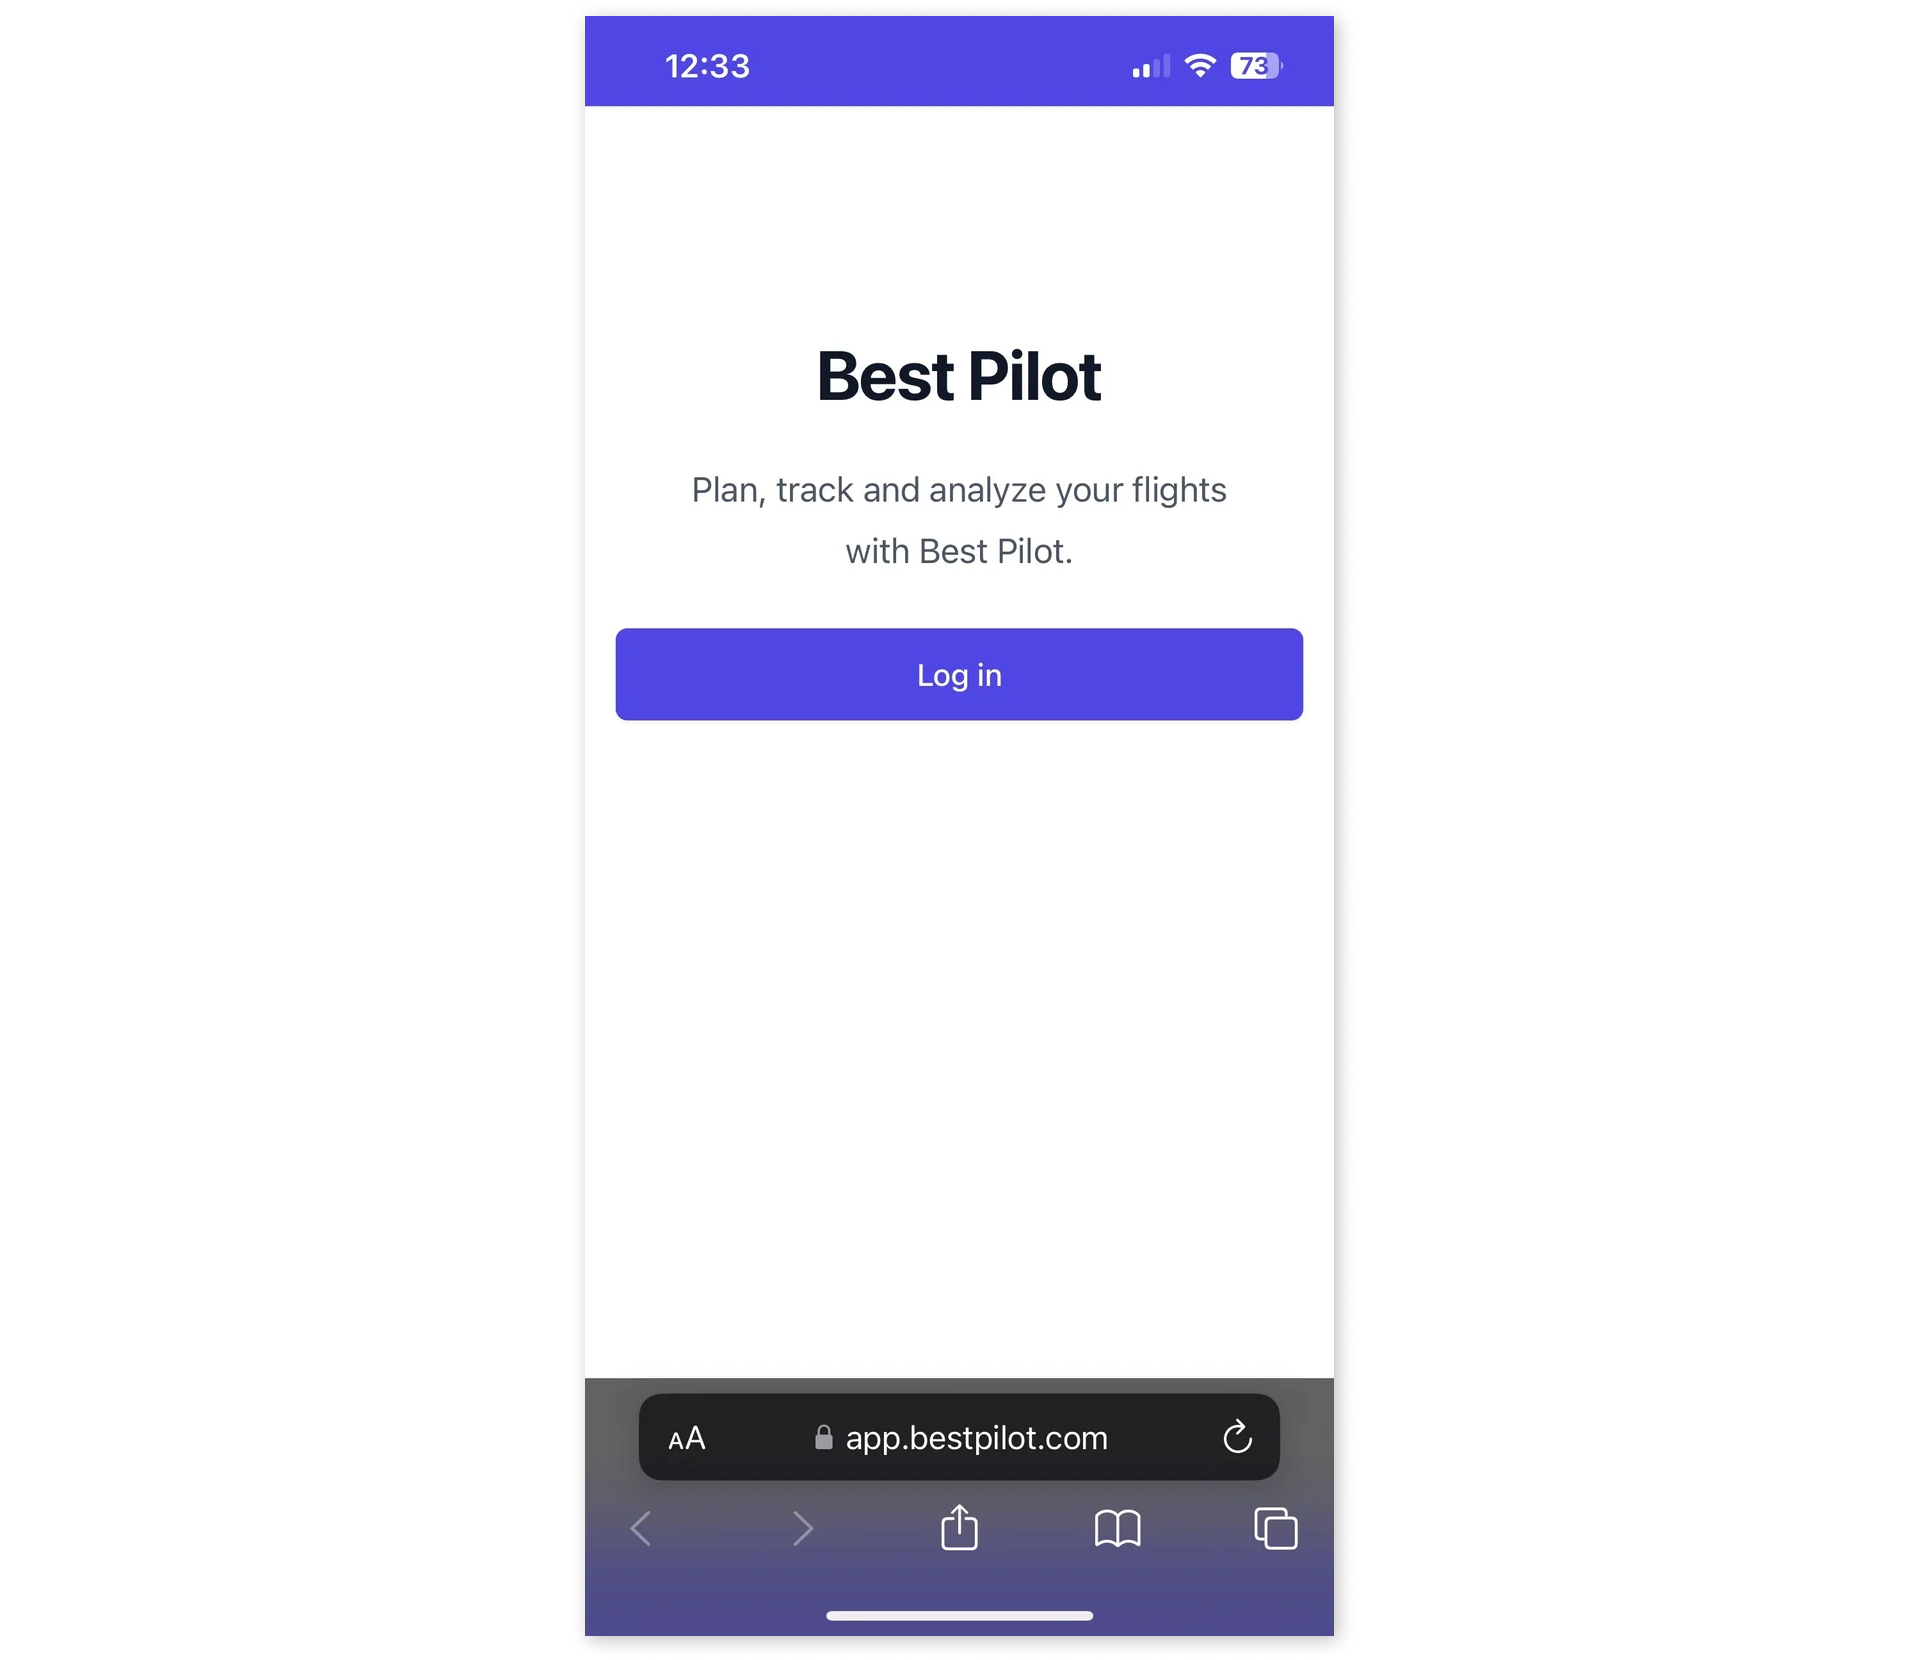
How can I install the Best Pilot App on my iOS device?
Best Pilot is a Progressive Web Application (PWA) and it can be saved to your device's Home Screen to be accessible as a normal app.
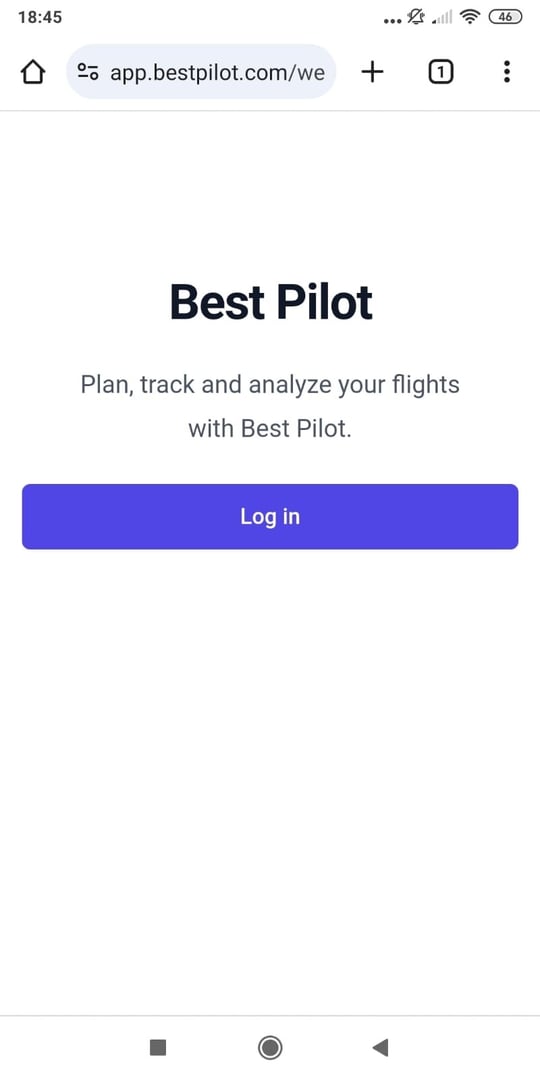
1. Open your browser and set: app.bestpilot.com.
2. Press the Share button (1) at the bottom of your browser.

3. Find the Add to Home Screen button (2) and select it.

4. Here you can specify the name of the app and if everything is set, you can select the Add button (3).

5. After the installation is completed the Best Pilot App will be saved on your home screen (4).

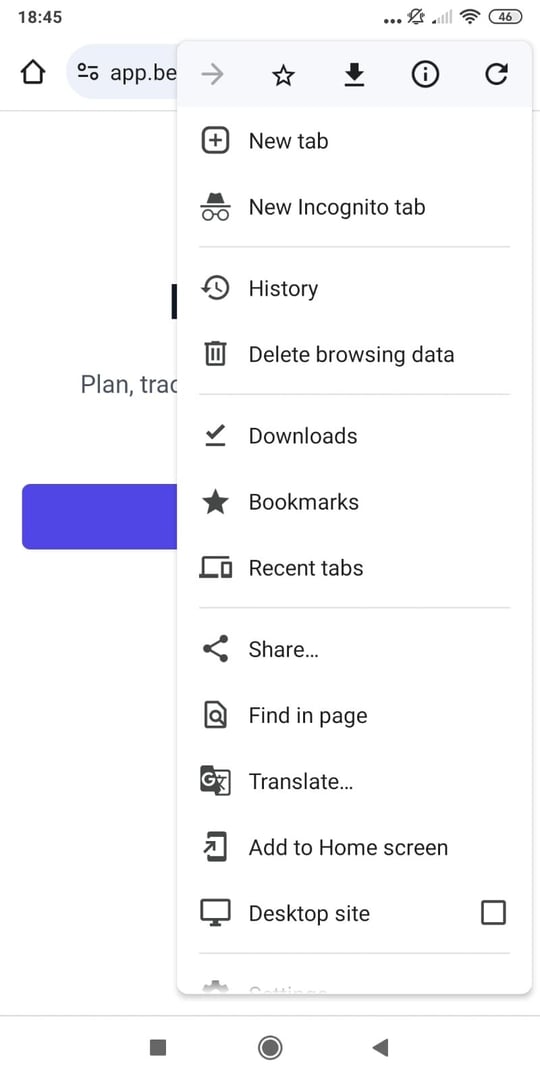
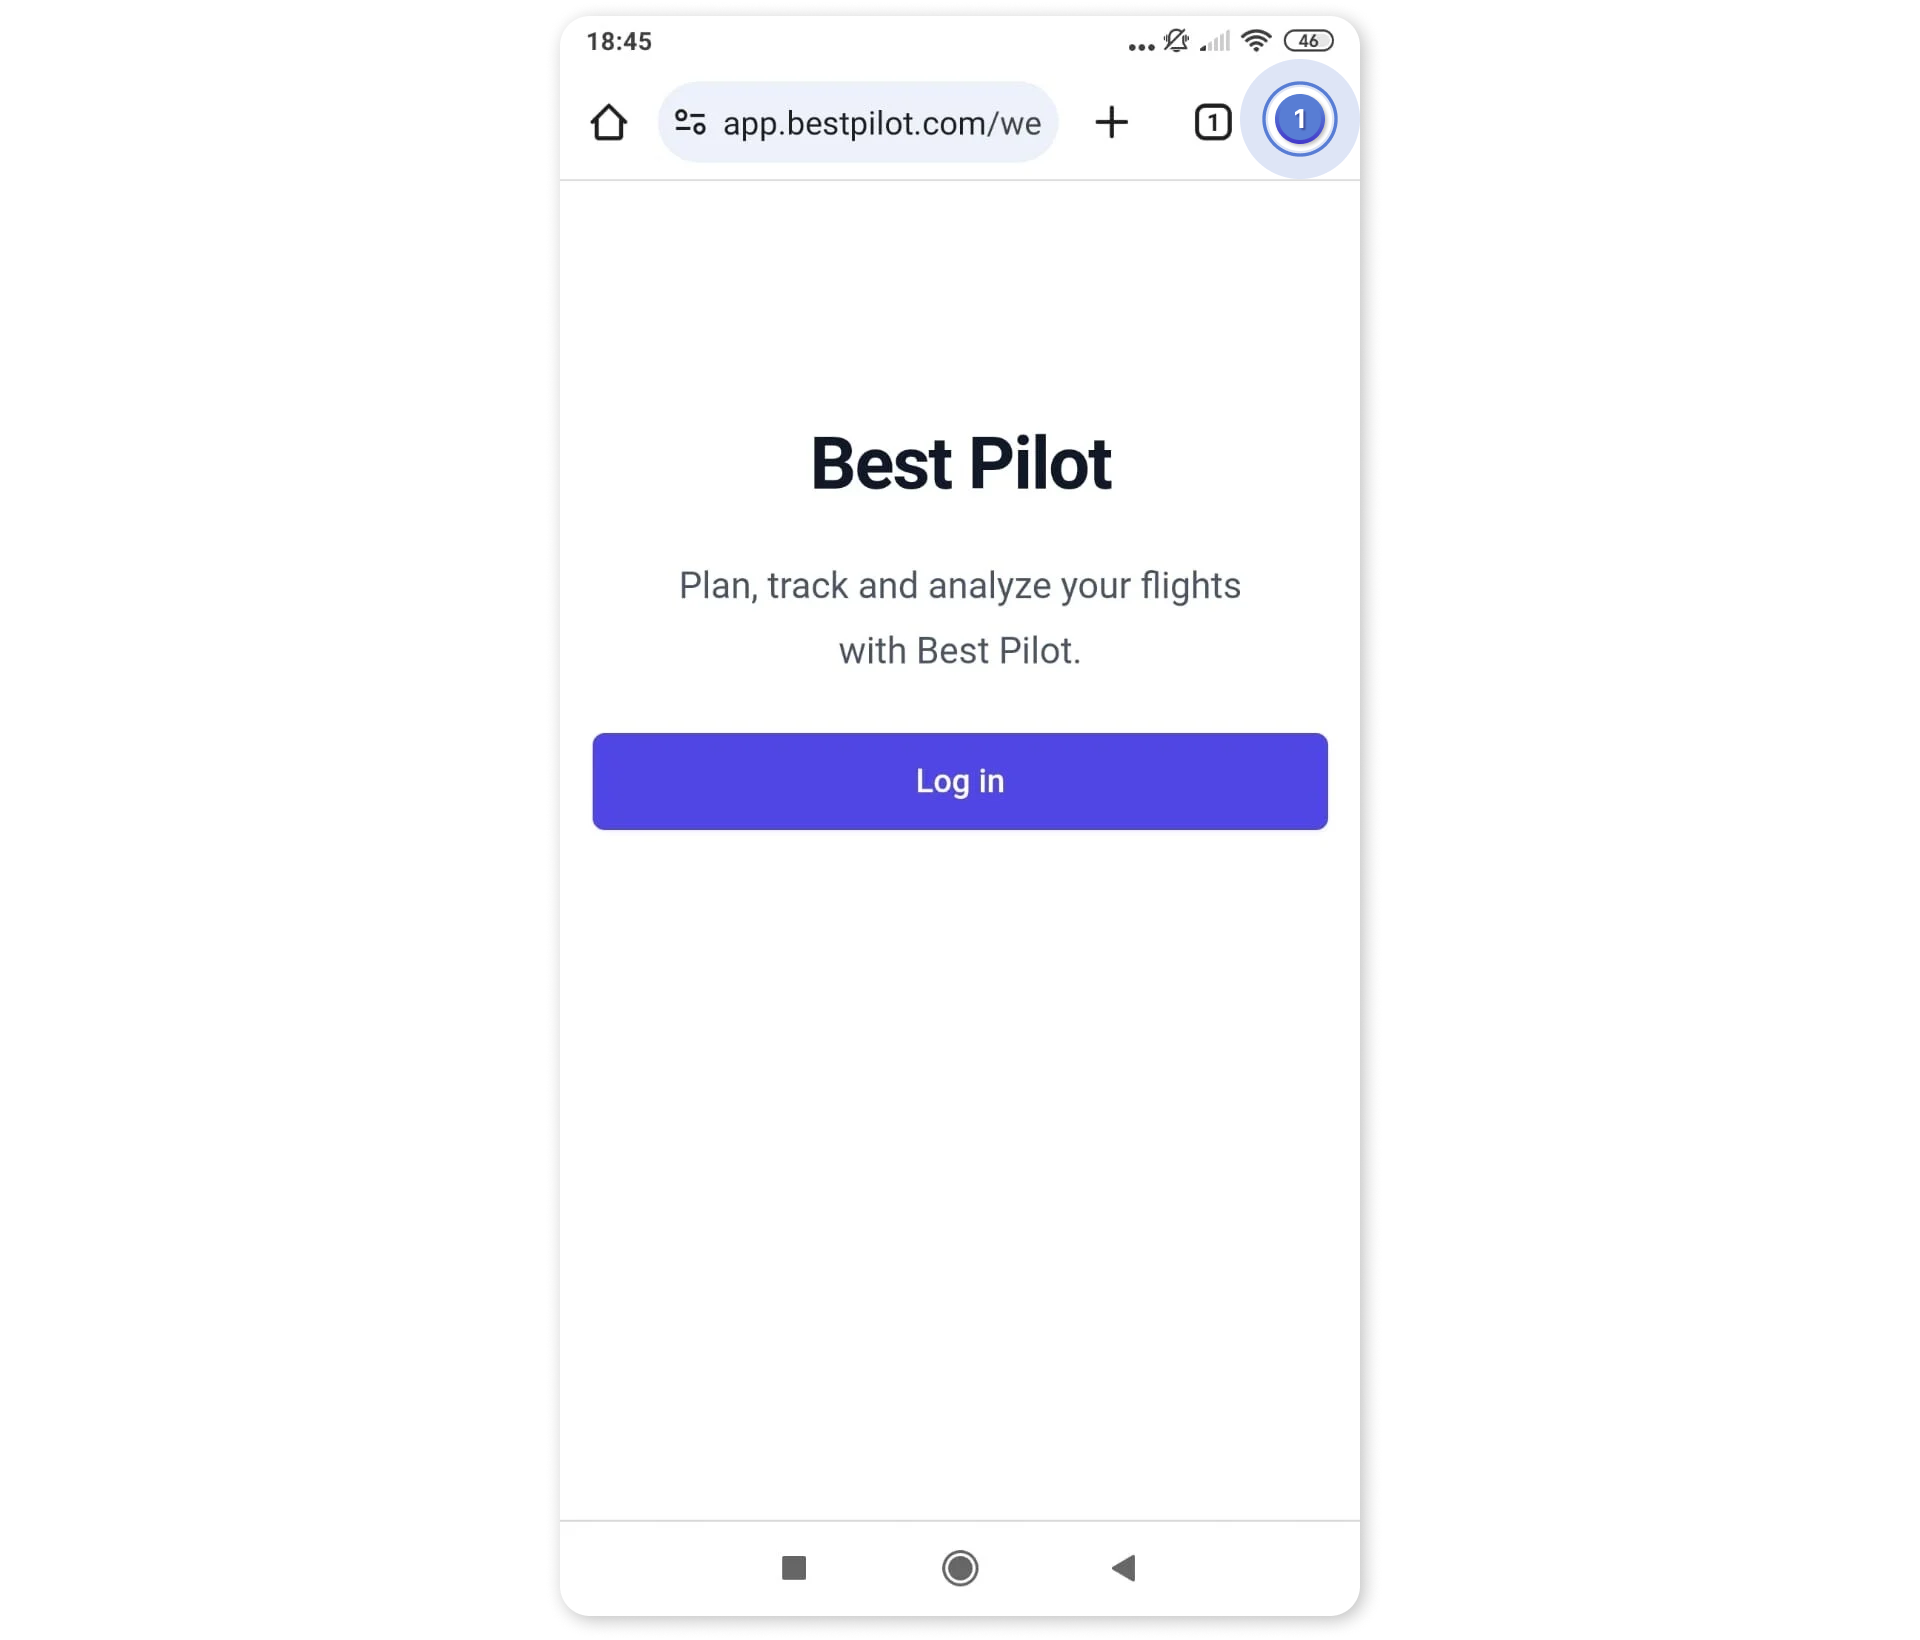
How can I install the Best Pilot App on my Android device?
Best Pilot is a Progressive Web Application (PWA) and it can be saved to your device's Home Screen to be accessible as a normal app.
1. Open your browser and set: app.bestpilot.com.
2. Press the 3 vertical dots button (1) in the top right corner.
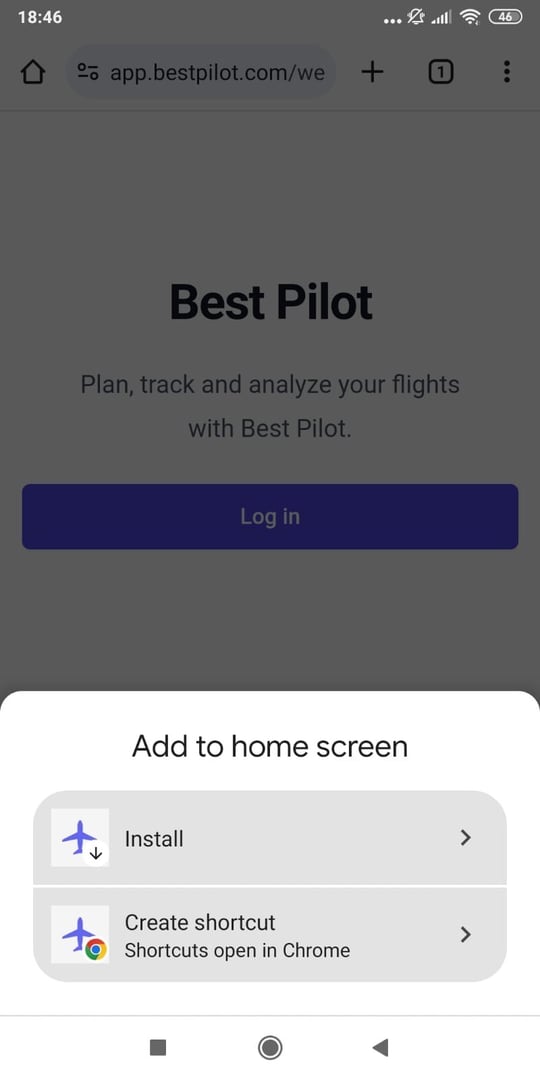
5. Next, confirm the installation by selecting the Install button (4).

6. After the installation is completed the Best Pilot App will be saved on your home screen (5).

TBD
Best Pilot is a Progressive Web Application (PWA) and it can be saved to your device's Home Screen to be accessible as a normal app.
1. Open your browser and set: app.bestpilot.com.
2. Press the 3 vertical dots button (1) in the top right corner.
5. Next, confirm the installation by selecting the Install button (4).

6. After the installation is completed the Best Pilot App will be saved on your home screen (5).

6. After the installation is completed the Best Pilot App will be saved on your home screen (5).

6. After the installation is completed the Best Pilot App will be saved on your home screen (5).

6. After the installation is completed the Best Pilot App will be saved on your home screen (5).

6. After the installation is completed the Best Pilot App will be saved on your home screen (5).

6. After the installation is completed the Best Pilot App will be saved on your home screen (5).

NO RESULT FOUND
We could not find what you searched for.
Try searching again
How to plan a training/lesson?
Best Pilot allows you to plan your training in 2 ways.
#1 From the Home page
1. Select the New Training button (1).

- Manage crew (choose people who will participate in the training and what will be their roles) (2)
- Select Resource (3)
- Training time (Date, From & To time) (4)
- Booking note (additional information the training participants should know) (5)

3. If you choose aircraft as the resource, you can determine a separate time for Aircraft booking time (6) and Lesson time (7).
You can also unify both times by selecting the Lesson time = Aircraft booking toggle (8).

4. If you choose a student for training, the Training details tab (9) becomes available.
5. Best Pilot may suggest Exercises (10) to perform during the training (if at least one training plan was defined).
However, you may choose another by selecting the Add exercise button (11) and remove the chosen ones by selecting the Delete icon (12).
Additionally, you can add a Message for student (13).
6. Once everything is completed, select the Plan training (14) button.

7. The training was planned and is available in the Calendar (15).

#2 From the Calendar module
1. Select the Calendar module (1).
2. Next, select the New event button (2).

3. Select event panel will appear on the right side of the page. Choose the Plan training button (3).

4. The form is the same as in the first way. Please refer to the point 2. above.
Note
You can mark the desired duration of the training by marking the area in a specified row (user or resource).

NO RESULT FOUND
We could not find what you searched for.
Try searching again
How to add a document to a user?
1. Select the Users (1) module.
2. Next, choose the user account to which you want to add a document.

3. Select the Documents (2) tab and click on the Add document (3) button.

5. Fill out the form with:
- Document template (choose from the dropdown list) (5)
- Name (required) (6)
- Expiration date (7)
- Attachment (8)

6. If everything is set, you can select the Save button (9).
7. The Draft (10) of the document is ready for approval. Select the document.

8. Document panel will appear on the right side of the page (11). Select the Approve (12) button.
9. All of the user's documents are visible in the Documents tab (13).
10. You can determine the visibility of the archived documents with a toggle switch (14).

NO RESULT FOUND
We could not find what you searched for.
Try searching again
TBD
TBD
NO RESULT FOUND
We could not find what you searched for.
Try searching again
How to add a document template?

2. Next, select the Document templates (2) tab and then the New template (3) button.

3. New template panel will appear on the right side of the page (4).

4. Fill out the Documents Template Name (5).
5. If everything is set, you can select the Confirm button (6).
6. A new document template was created (7).

NO RESULT FOUND
We could not find what you searched for.
Try searching again
TBD
TBD
NO RESULT FOUND
We could not find what you searched for.
Try searching again
TBD
TBD
NO RESULT FOUND
We could not find what you searched for.
Try searching again
TBD
TBD
NO RESULT FOUND
We could not find what you searched for.
Try searching again